Anatomy of an Open-Source Project
Before contributing, you need to understand what a standard open-source project looks like.
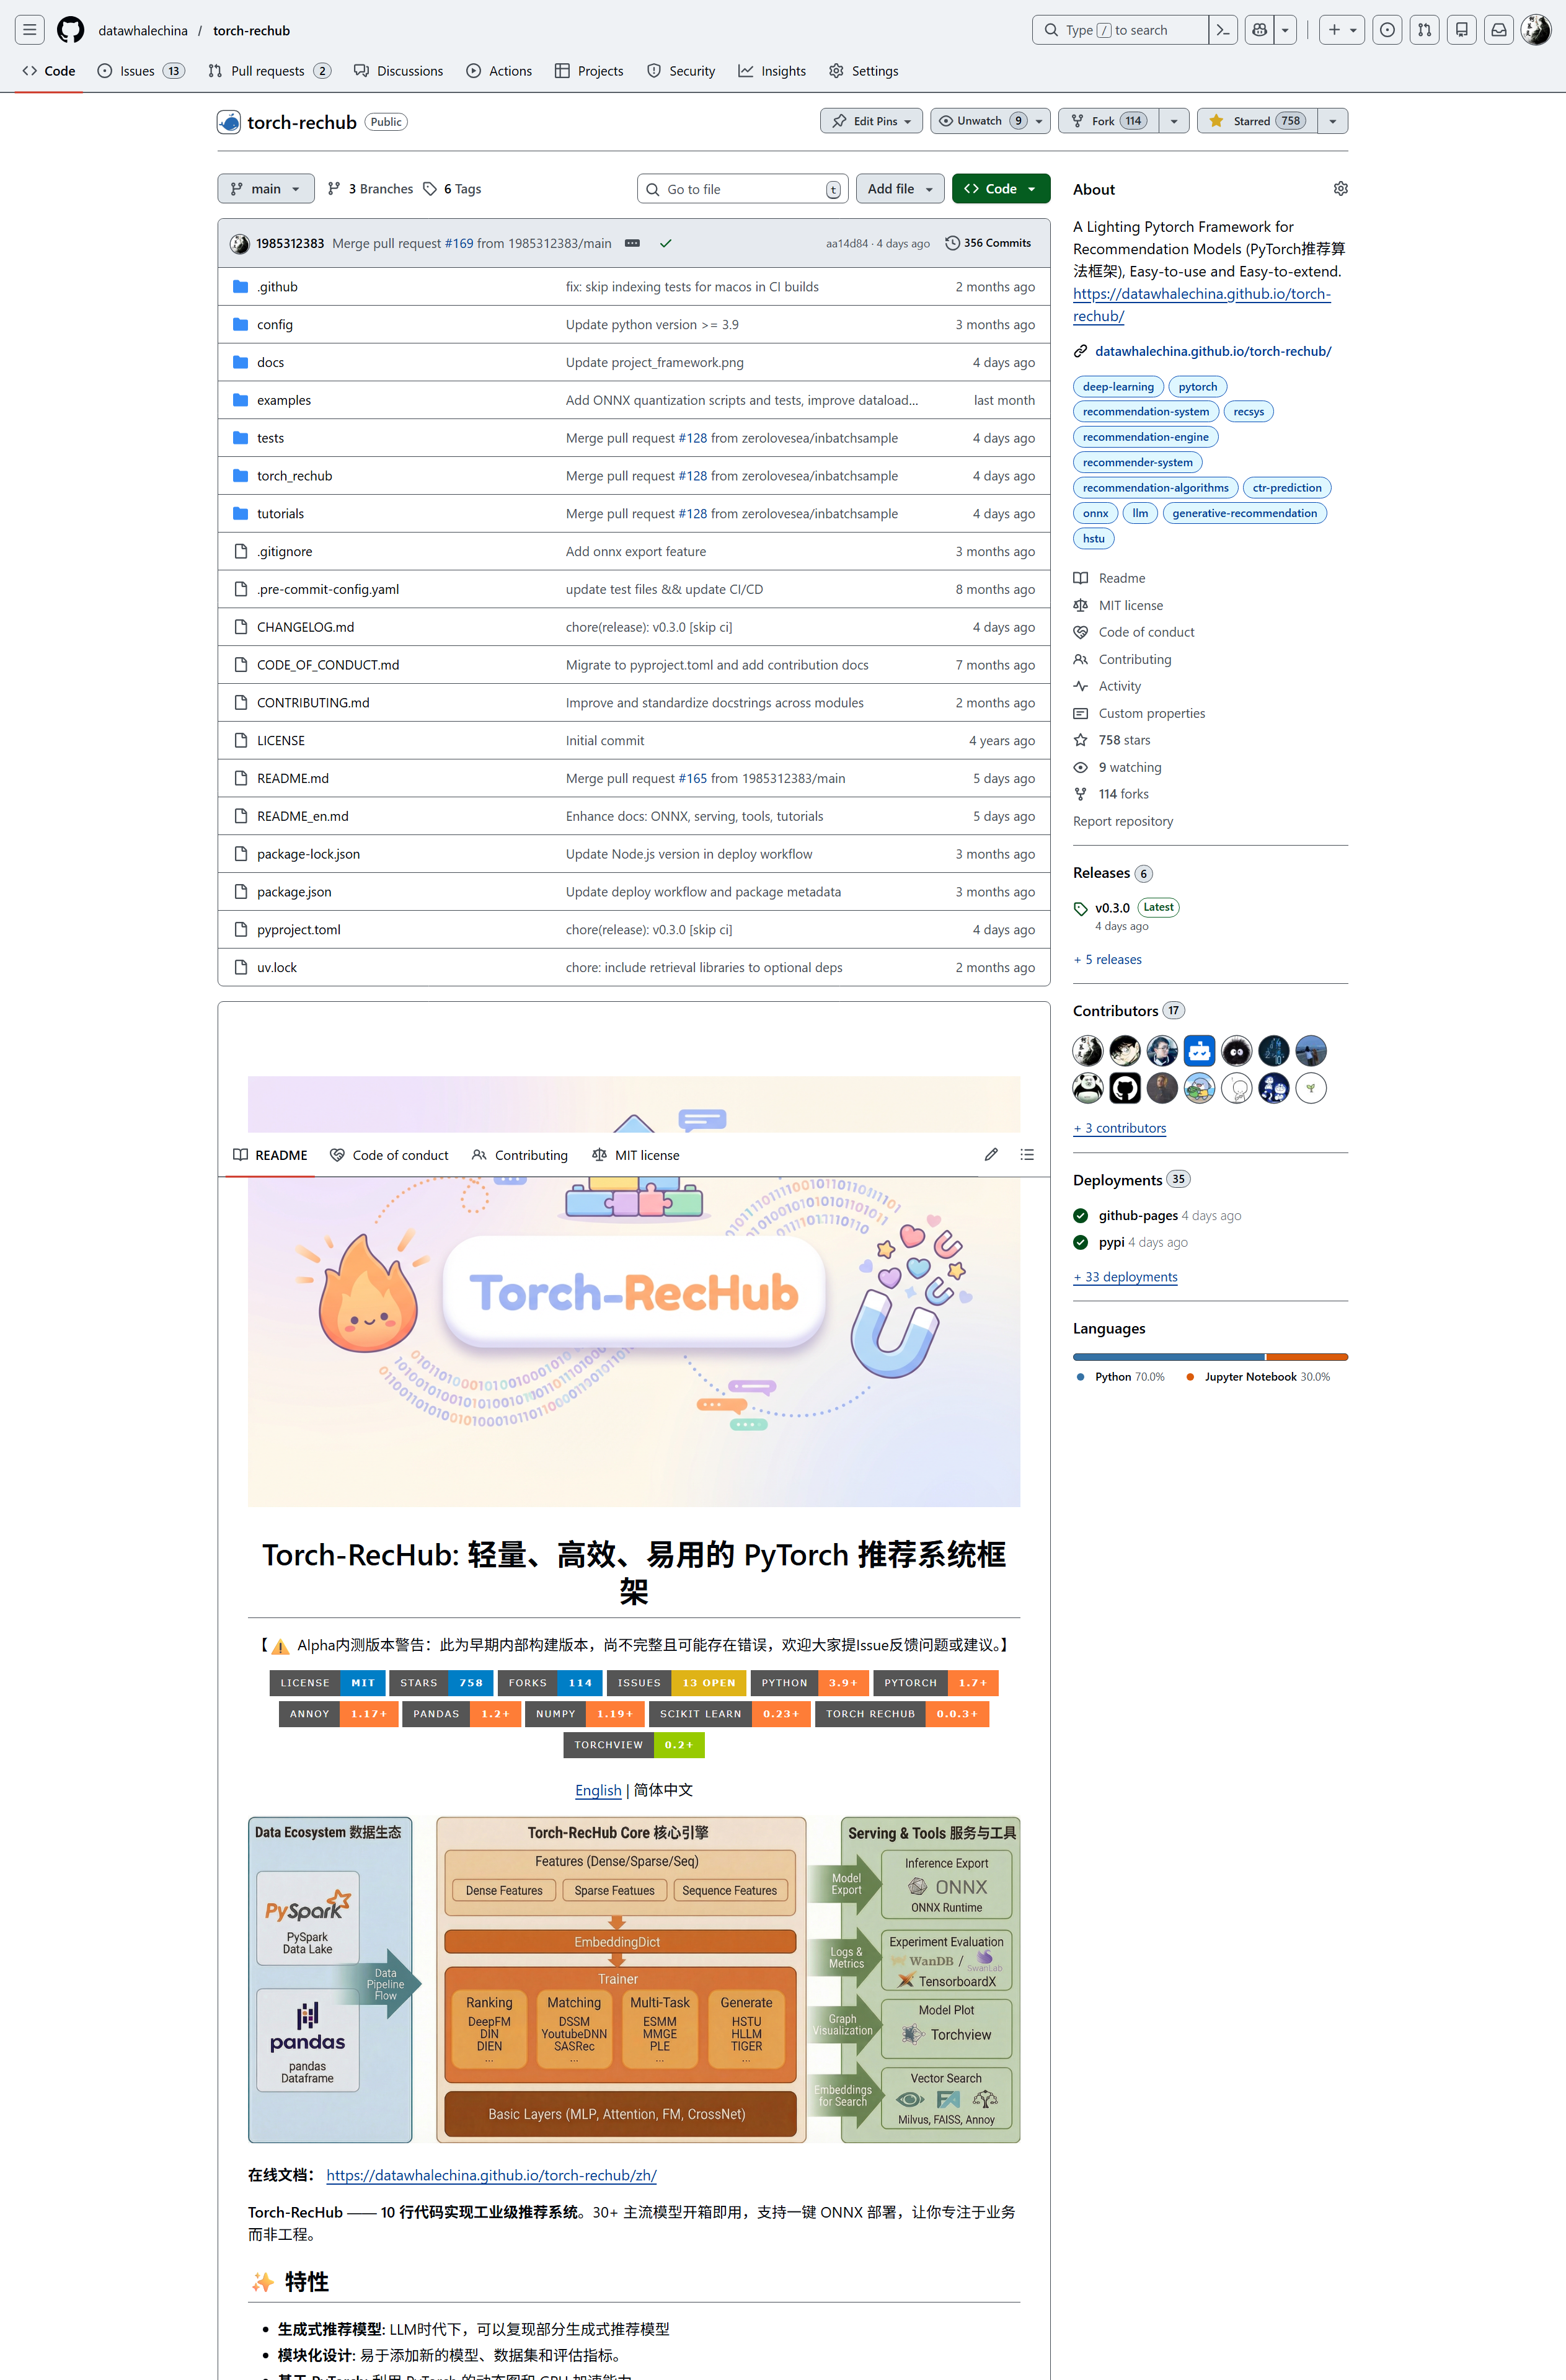
About the Example Project
The screenshots and examples in this guide come from torch-rechub, a community project the author helps maintain. It was chosen not to promote the project, but because:
- Real and verifiable — all screenshots and configs come from a live open-source repo that you can check on GitHub anytime, rather than fabricated diagrams
- Fully configured — after multiple iterations, this project has documentation, Issue templates, PR templates, CI/CD, Dependabot, Release Notes, PyPI publishing, and other collaboration configs, making it a good reference for "what a standard setup looks like"
- Simple tech stack — it's a Python-based scaffold tool with no complex frontend/backend architecture, so it won't add to the learning curve
- The pitfalls are real — many of the anti-patterns and common mistakes mentioned in this guide were actually encountered while maintaining this project
You can apply these practices to any open-source project — they are not tied to any specific tech stack or community.
This section walks you through the key areas using real GitHub projects as examples.
Repository Homepage Overview
A typical GitHub repository homepage contains these areas:
| Area | Description |
|---|---|
| Repository name | Format: org-name/project-name, e.g. datawhalechina/torch-rechub |
| Star / Fork / Watch | Three buttons in the top-right reflecting project popularity |
| About | Project description in the right sidebar |
| File list | Source code and configuration files |
| README | Auto-rendered project documentation below the file list |
Key Files and Directories
README.md
The project's "front page", typically containing:
- Project introduction and features
- Installation and usage instructions
- Link to contribution guidelines
- License information
LICENSE
Declares the project's open-source license type (MIT, Apache 2.0, GPL, etc.). A project without a LICENSE reserves all rights by default — it does not mean you can use it freely.
CONTRIBUTING.md
Contribution guidelines explaining how to participate in development:
- Development environment setup
- Code style requirements
- PR submission process
- Issue reporting standards
.github/ Directory
GitHub-specific configuration files:
ISSUE_TEMPLATE/— Issue templates guiding users to report problems properlyPULL_REQUEST_TEMPLATE.md— PR template reminding contributors to fill in necessary infoworkflows/— GitHub Actions workflows (CI/CD)
GitHub Feature Areas
Issues
The project's "bug tracker", used for:
- Reporting bugs
- Suggesting new features
- Discussing technical approaches
Pull Requests
The entry point for code contributions. All modifications should be submitted via PR, not pushed directly to the main branch.
Actions
GitHub Actions is the built-in CI/CD system, commonly used for:
- Running automated tests
- Building and deploying documentation sites
- Code quality checks (linting)
Releases
Official project releases. Each Release typically includes:
- Version number (following Semantic Versioning)
- Changelog
- Downloadable build artifacts
Branch Model
Most open-source projects use the following branching strategy:
main(ormaster): Stable main branch, only accepts code merged via PRdev/develop: Development branch (used by some projects)feature/*: Feature branches, created frommain, merged back via PR
Important
Never push code directly to the main branch. All modifications should go through Pull Requests.
Next Step
Now that you understand the project structure, let's get into practice — Fork Workflow.