Fork Site Preview
After forking a documentation project, you may want to preview the modified site on your own fork. This section explains how to deploy and preview a documentation site from a forked repository.
Why Preview in Your Fork First
Many beginners modify documentation and submit a PR directly to the main repository, expecting the maintainer to check the result. This is wrong.
The correct approach is:
- Deploy and preview in your own fork first — confirm the page renders correctly with no layout issues
- Submit the PR only after confirming everything looks good, and include your preview link in the PR description
Anti-Pattern
Submitting a PR after modifying docs without checking the build result. The maintainer opens it and sees: broken formatting, missing images, 404 links. This kind of PR will just be sent back, wasting everyone's time.
Complete Documentation Contribution Flow
1. Fork the repo → Clone locally
2. Create a branch, modify documentation
3. Preview locally, confirm the result ✓
4. Push to your fork
5. Enable GitHub Pages on your fork, preview online ✓
6. Once confirmed, create a PR with the preview link
GitHub Pages Deployment
Most documentation projects use GitHub Pages for deployment. After forking, you need to enable it manually.
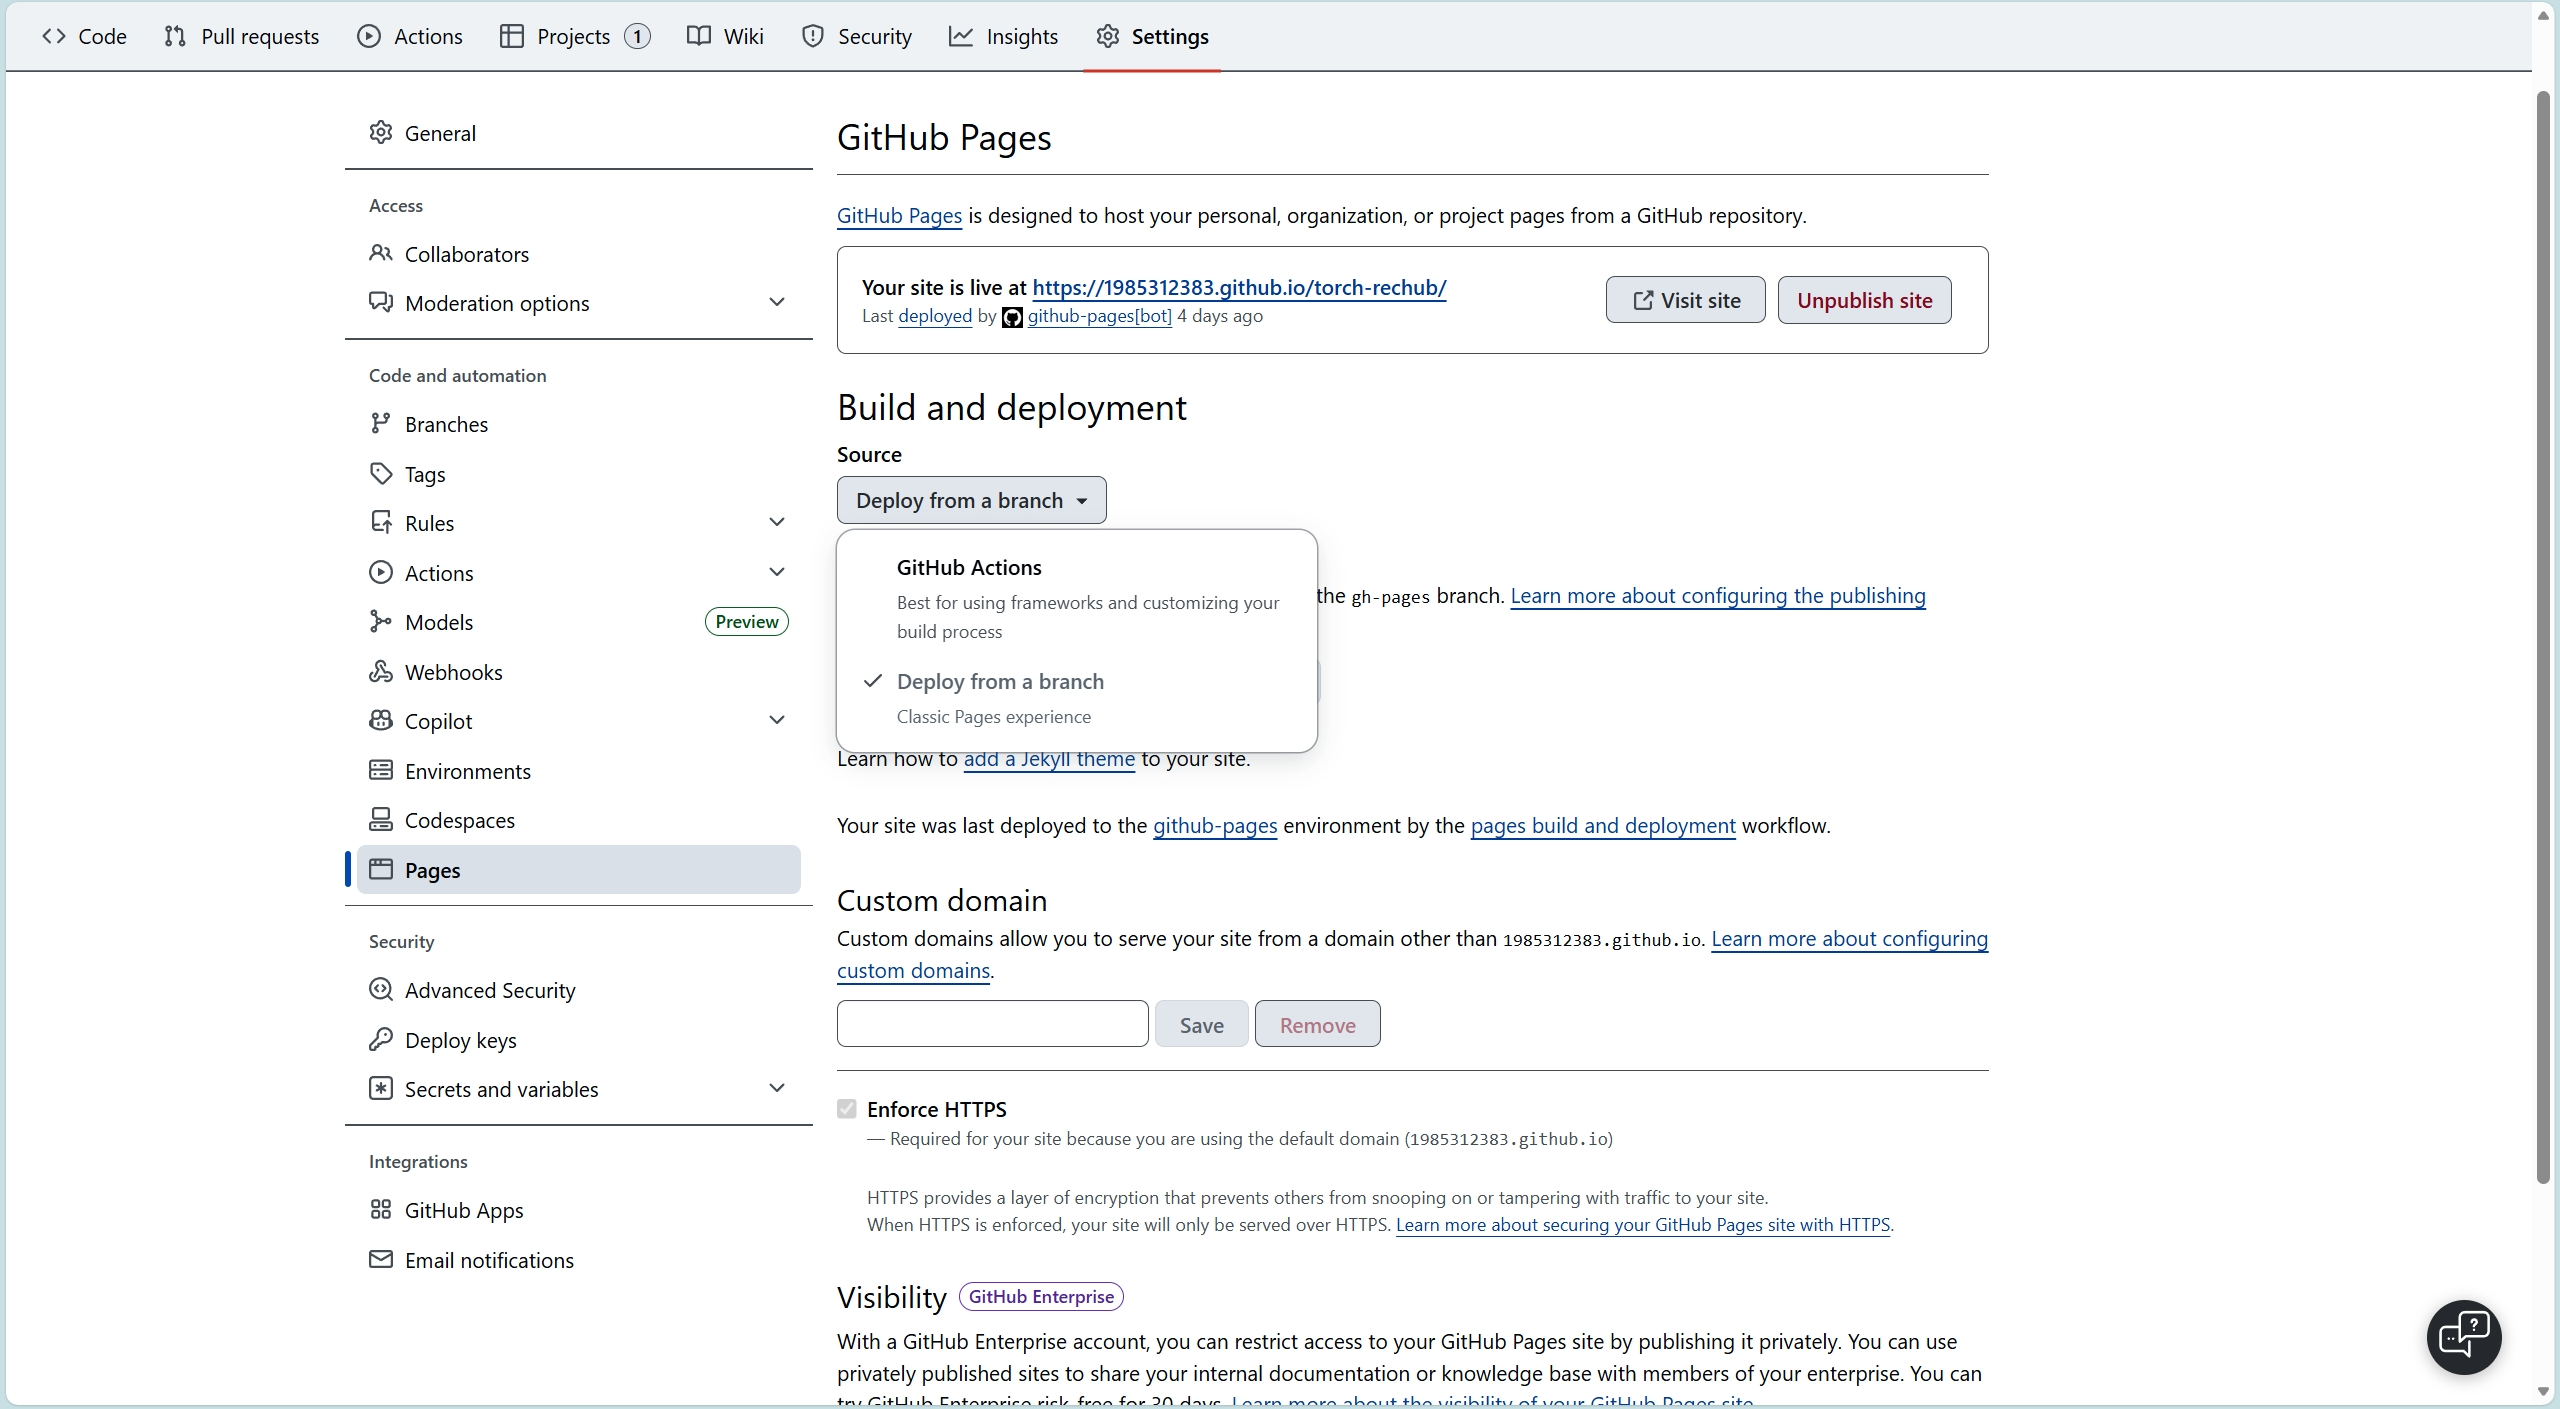
Enabling GitHub Pages Manually
- Go to your forked repository's Settings
- Find Pages in the left sidebar
- Under Source, select the deployment method
Deploying via GitHub Actions
If the original project uses GitHub Actions for automatic deployment, after forking you need to:
- Go to the Actions tab
- Click I understand my workflows, go ahead and enable them
- Manually trigger a build, or push a new commit to trigger one
Note
GitHub Actions are disabled by default in forked repositories and must be enabled manually.
Local Preview for Different Frameworks
Before submitting a PR, it is recommended to preview the site locally first.
VitePress
npm install
npm run docs:dev
Visit http://localhost:5173 to see the result.
Docsify
# Install docsify-cli (if not already installed)
npm install -g docsify-cli

# Start local server
docsify serve docs
Visit http://localhost:3000 to see the result.
MkDocs
pip install mkdocs
mkdocs serve
Visit http://localhost:8000 to see the result.
Fork Repository URL
After successful deployment, your forked site will be available at:
https://your-username.github.io/project-name/For example, if the original project is https://original-org.github.io/my-docs/, your fork's preview URL would be:
https://your-username.github.io/my-docs/Tip
If you modified a specific page, you can construct the full URL directly. For example, if you modified docs/guide/setup.md, the preview URL would be:
https://your-username.github.io/my-docs/guide/setup.htmlInclude Preview Links in Your PR
Once you've confirmed the preview looks correct on your fork, include the preview link in your PR description so maintainers can check the rendered result directly.
Recommended Format
Add a Preview section in your PR description:
## Changes

Updated the installation guide with Windows-specific configuration steps.

## Preview

- Modified page preview: https://your-username.github.io/project-name/guide/setup.html

Closes #42
Why Include Preview Links
- Maintainers don't need to build locally to see your changes
- Speeds up the review process — they can instantly see if the layout is correct
- Shows professionalism — it proves you've verified the result yourself
Note
Make sure your fork's GitHub Pages build has completed before submitting the PR. If Pages is still building, the maintainer will see a 404 when clicking the link.
Next Step
Now that you know how to preview your site, learn how to configure SEO & Search Engines for your documentation site.